Begin by logging into your Hibox CRM account using your username and password.
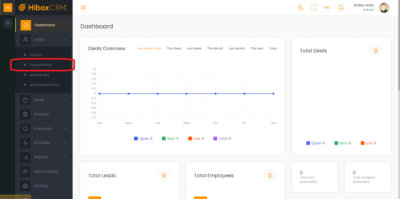
On the left-hand menu, click on “Organizations.” This will take you to the Organizations section where you can manage your organizational profiles.
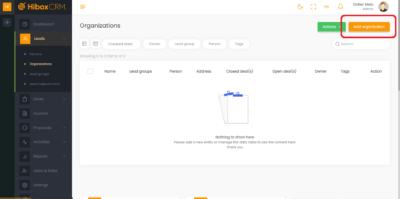
- To create a new organization profile, click the “+ Add Organization” button located at the top right corner.
A form will appear, prompting you to enter the organization’s details. Here’s what you’ll typically include:
Name: Enter the full name of the organization.
Lead group: Select your own Lead group. Learn more about it here.
Owner: Select the agent/ owner who is dealing with this organization.
Click on the Save button.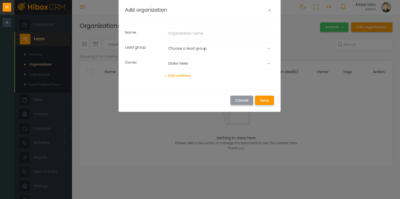
- Find your Organizations in this section from now on. Click on the name of the organization to add more details.
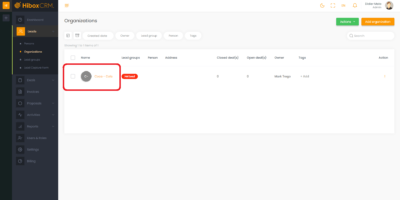
- You can always edit the original information from any organization by clicking on the pencil icon.
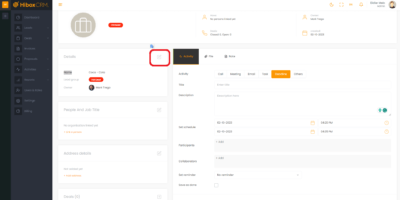
- Add more information to the Organization such as a physical address/location.
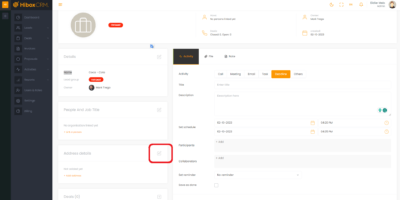
- Add People into the Organization. You can always add more later.
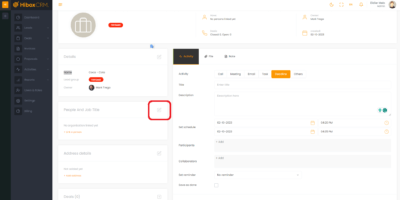
- Scroll down to use Custom Fields for any other categorization you may need.
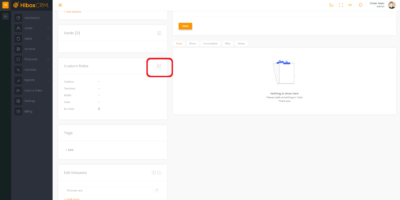
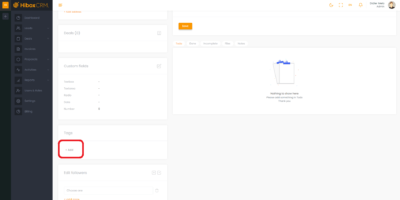
- Add different Tags for each Organization.
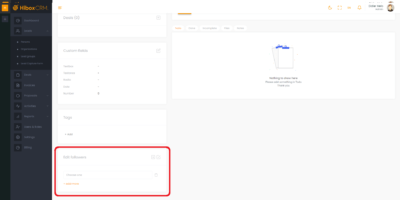
- Finally, you can add Followers to each Organization.
Creating an Organization
< 1 min read


