Let’s get started by creating our first event type.
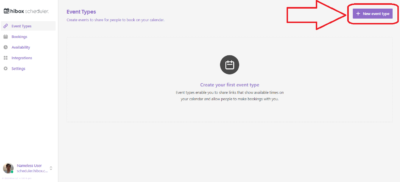
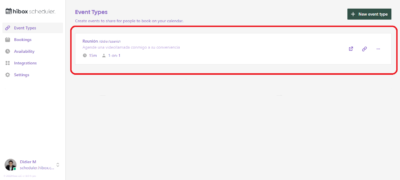
- You can find all of the events you have created in the left-side menu, under the “Event Type” tab.

- Click on “New event type” at the top right of your screen.
- Add a “Title” for your event. This will be visible to your guests.
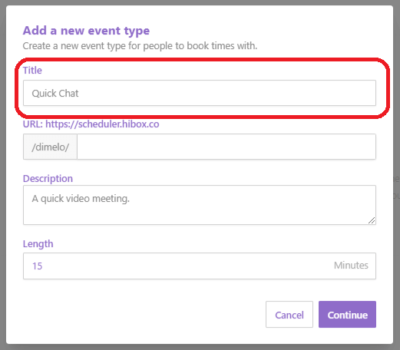
- Create a unique URL for your event.
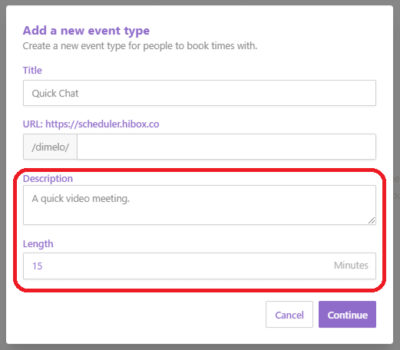
- You can add a description and the duration of your event.
- Congratulations! You have now created your first event. You can find all of the events you have created in the left-side menu under the “Event Types” section.
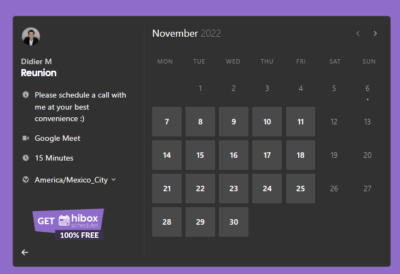
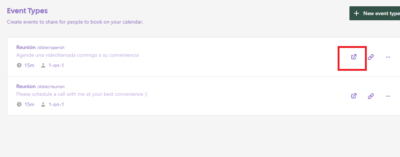
- Once someone enters your event URL into any browser, they will see a calendar where people can schedule an appointment with you. Click here to preview your event.
- You will see your calendar as a customer, and select a date and a time to continue setting an appointment.
